
How to Migrate from Google Analytics to Abtz Analytics
How to Migrate from Google Analytics to Abtz Analytics
If you have decided to leave GA4 behind (and honestly, who can blame you?), this guide covers the practical steps: setting up your account, adding the tracking script, porting your events, and understanding what will feel different.
This is not a comparison page. If you are still deciding, check out the Abtz Analytics vs Google Analytics page. If you are ready to switch, read on.
I have been building for the web for nearly 30 years now. I have installed Google Analytics on more projects than I care to count. And every single time, I told myself (it is fine, it is just a snippet). But over the years, the weight of that decision adds up — slower pages, cookie banners, data you do not really own. That is why I built Abtz Analytics, and this is how you make the switch.
What changes when you switch
GA4 is built for advertising attribution and user profiling across Google's ecosystem. Most of its complexity exists to feed the ad network. Abtz Analytics is built for something much simpler: giving you clear, privacy-first insights about your website traffic.
(Formerly known as Cyan Stats, Abtz Analytics has been around since 2023, quietly serving founders, indie makers, and small teams who just want analytics that work without the baggage.)
What you gain:
A clean, focused dashboard that shows what matters (traffic trends, top pages, and visitor sources) without the noise
No cookie consent banner required, since Abtz Analytics does not use cookies or collect personal data
100% data ownership — your data is never shared, sold, or used for ad targeting
A tracking script under 3KB that loads in a fraction of the time and is rarely blocked by ad blockers
Unlimited pageviews, unlimited domains, unlimited events, and unlimited data retention at a flat price
What you leave behind:
User-level tracking and cross-site session stitching
Cohort analysis and retention reports
Remarketing audiences for ad campaigns
Multi-touch attribution models (Abtz uses last-touch by default)
And honestly? Most sites do not use those features. They check pageviews, traffic sources, and popular content. If that sounds like you, you are not losing anything of value. I certainly was not when I made the switch myself.
Step 1: Start your Abtz Analytics trial
No credit card required. You can run Abtz Analytics alongside GA4 while you get familiar with the dashboard. Adding the Abtz script next to the GA4 snippet has no meaningful impact on page speed — at 3KB, you will barely notice it. I usually keep both running for a full week on every site I migrate. Old habits, you know?
Step 2: Add the tracking script
Adding Abtz Analytics to your website is a single line of code. Paste this into the <head> tag of your site:
<script async src="https://analytics.abtz.co/cs.js"></script>
That is it. No configuration, no setup wizards, no data layer. Your dashboard starts receiving data on the first page visit. After 28 years of setting up analytics tools, I can tell you this is the easiest one yet.
SPA support: Abtz Analytics automatically tracks page views in single-page applications and PWAs. No extra code needed. I run a Vue.js app myself, so this was a must-have for me.
Scroll tracking: Want to know how far people scroll? Add the data-scroll attribute:
<script async data-scroll="on" src="https://analytics.abtz.co/cs.js"></script>
Subdomains: If you are tracking a subdomain, add your project token from Settings:
<script async data-token="[YOUR_TOKEN]" src="https://analytics.abtz.co/cs.js"></script>
Respecting visitor privacy: Abtz Analytics respects the browser's Do Not Track preference by default. If a visitor has DNT enabled, their traffic is not recorded. You can also implement programmatic opt-out by setting localStorage.__abtzanalytics.donottrack = true or adding the abtzanalytics-donottrack attribute to your <html> tag. This replaces the consent mechanism you likely had with GA4.
Framework-specific guides
If you are using a modern framework, Abtz Analytics has dedicated guides:
Next.js: Use the provided React component in your layout to prevent SSR from creating duplicate traffic data. See the guide →
Vue.js: Dedicated setup instructions for Vue applications. See the guide →
WordPress: A ready-to-use plugin that you can install and activate in minutes. Download the plugin →
NPM / Bundler setup
No npm package is necessary — a simple script tag is all you need. But if you prefer to load analytics dynamically from your JavaScript bundle (for example, only in production or after user consent), DOM injection works beautifully:
const script = document.createElement('script');
script.src = 'https://analytics.abtz.co/cs.js';
script.async = true;
document.head.appendChild(script);
This pattern works with React, Vue, or any component-based framework. You can even lazy-load it using dynamic import() or conditionally load it based on environment variables. Overkill for most sites? Maybe. But having the option is nice.
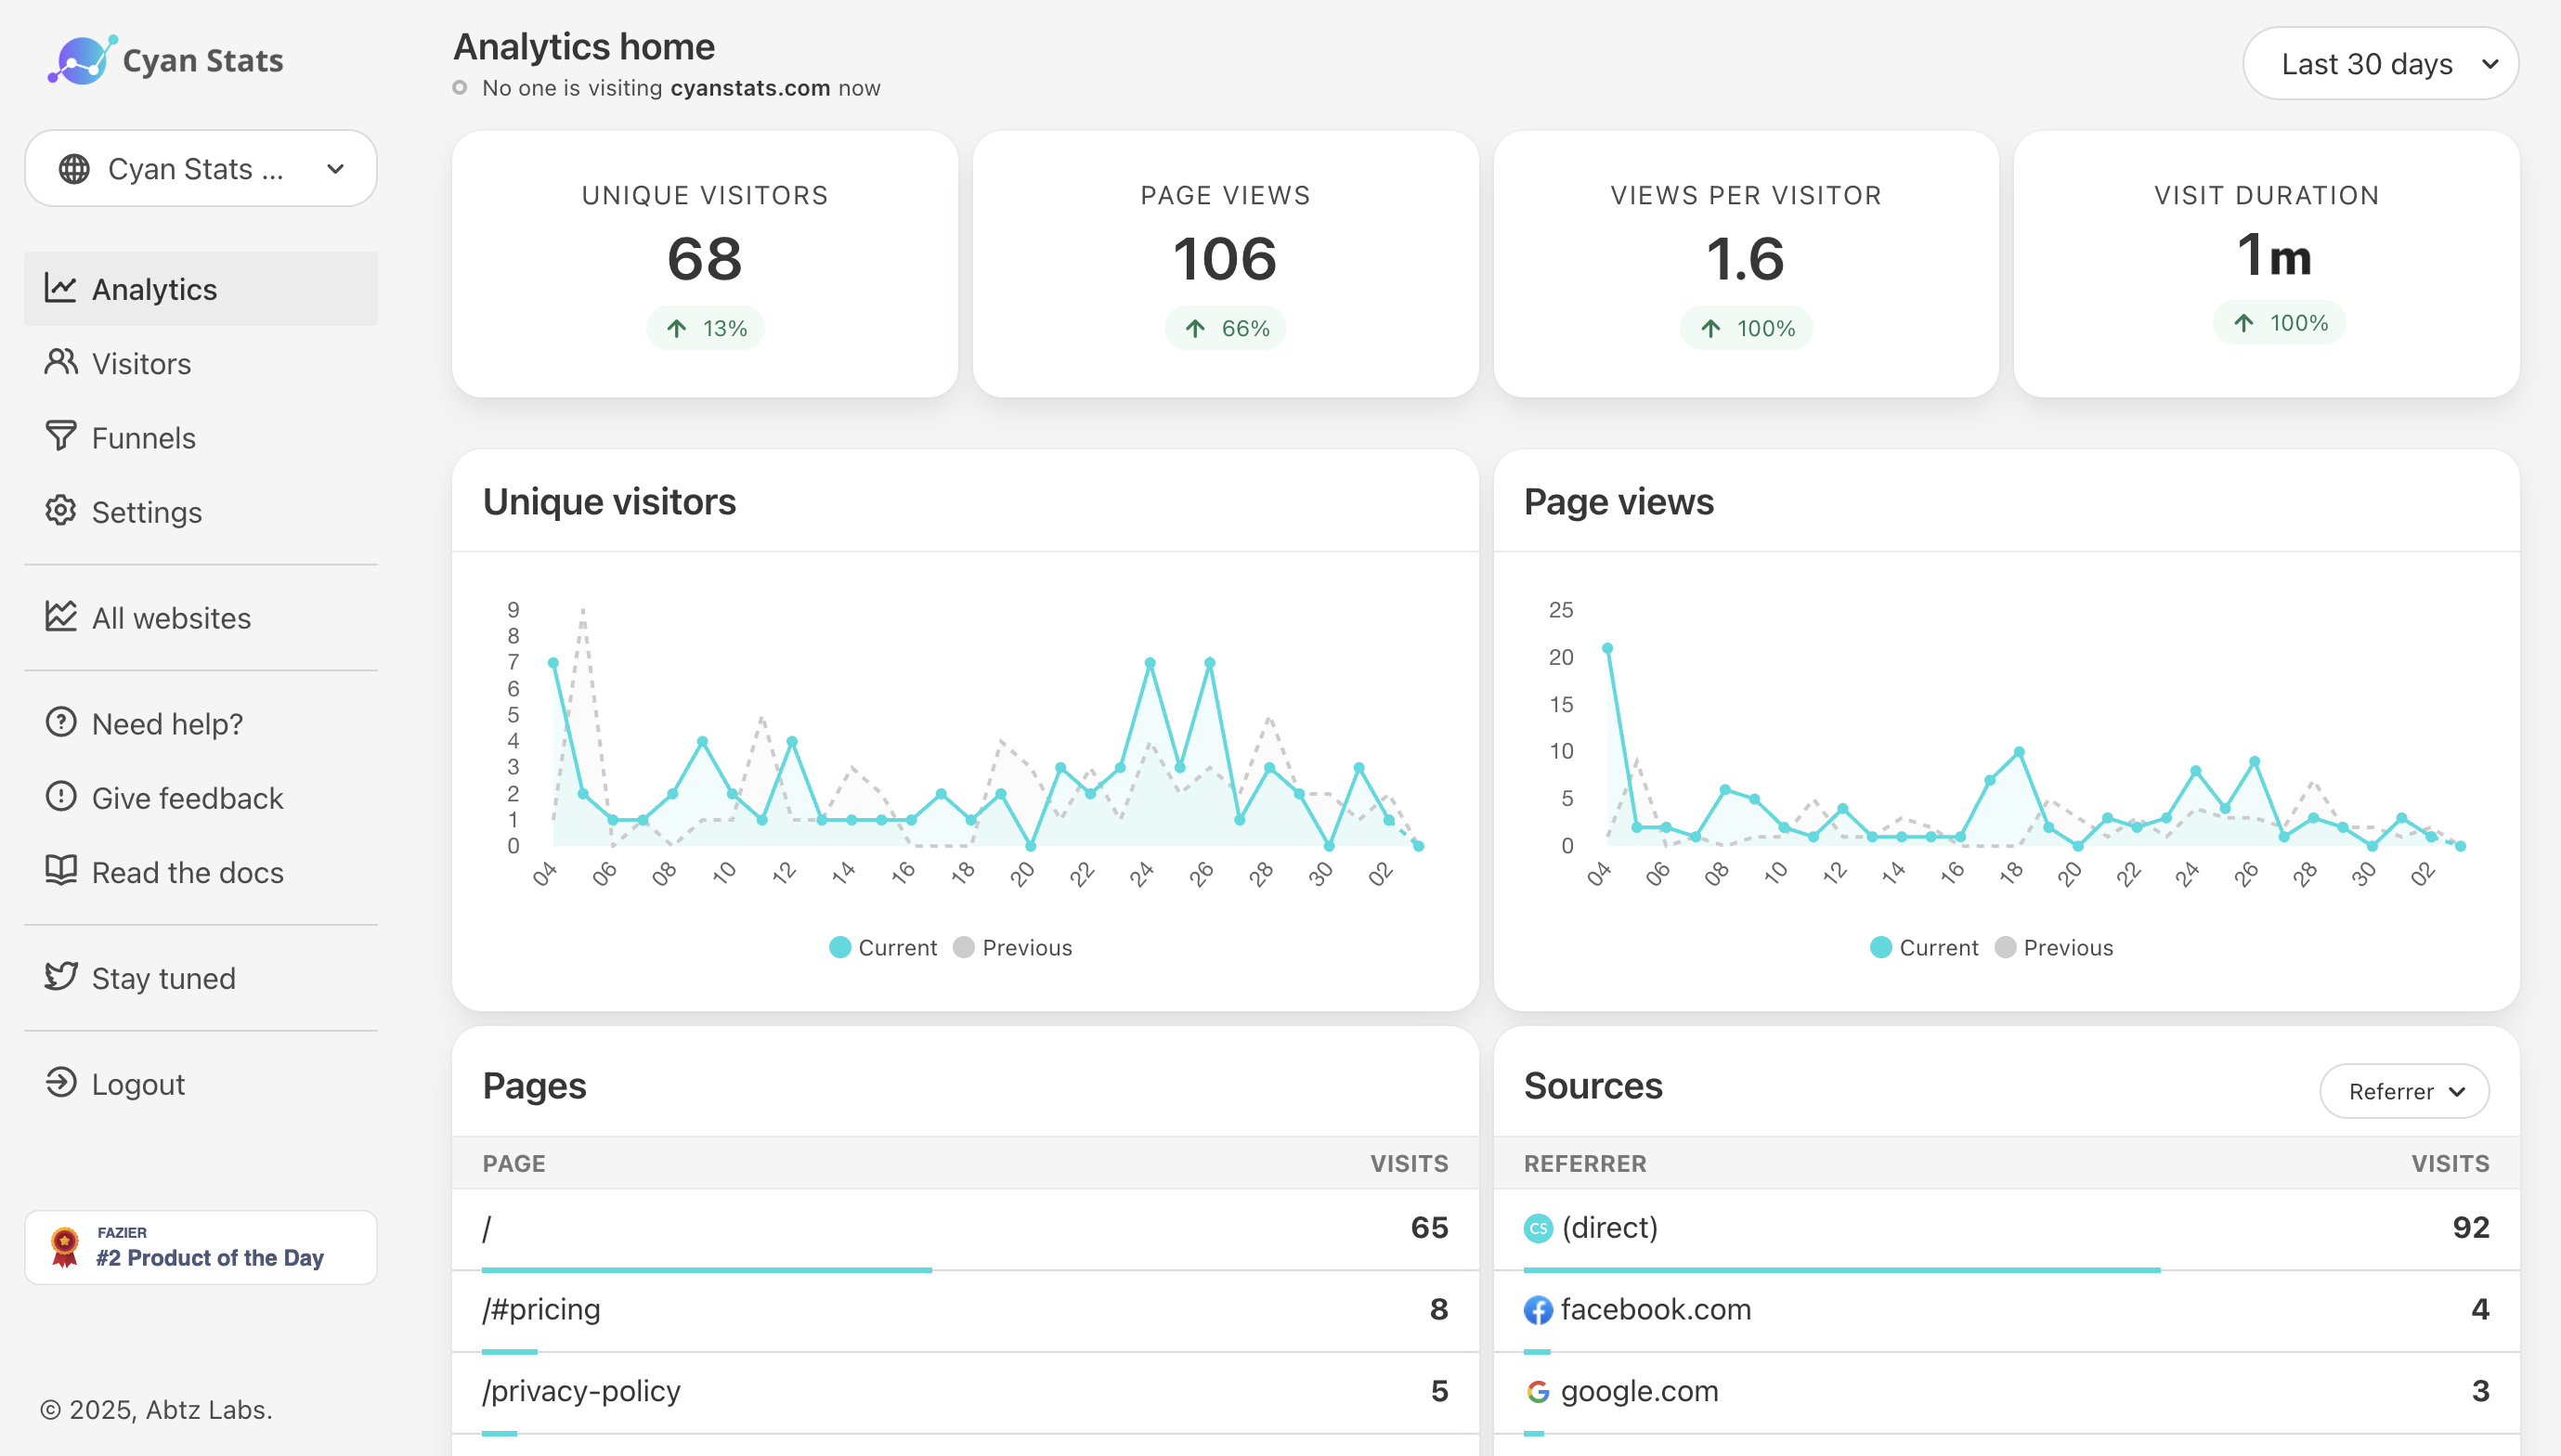
Step 3: Get familiar with the dashboard
The Abtz Analytics dashboard puts everything on one page. At the top you see the key metrics: unique visitors, page views, and real-time traffic. Below that, traffic sources, top pages, visitor geography, devices, and browser breakdowns.
No sidebar navigation labyrinth. No "create a report" workflow before you can see your data. It is all there from the moment you log in.
I check my dashboard over breakfast here in Japan (which is probably your afternoon already). Real-time traffic shows me who is on the site right now, where they came from, and what page they are on. It is surprisingly addictive.
Step 4: Set up events
GA4 treats everything as events. Abtz Analytics makes event tracking refreshingly simple, with two approaches:
Using HTML attributes (no code)
Add a data-abtz-event attribute to any HTML element:
<button data-abtz-event="Button Click">Click me</button>
Want to add context? Use data-abtz-event-[KEY] attributes:
<button
  data-abtz-event="Button Click"
  data-abtz-event-local="Navbar"
>Click me</button>
This records an event with the payload { event: 'Button Click', local: 'Navbar' }, visible in your dashboard.
Using JavaScript (programmatic)
Abtz Analytics exposes a global abtz object. Call abtz.track() anywhere in your code:
abtz.track('Sign Up Click');
Pass a payload for extra context:
abtz.track('Subscribed', { report: 'weekly', source: 'blog' });
This is great for tracking form submissions, video plays, file downloads — anything that is not a simple button click.
Step 5: Track visitor attributes
This is where Abtz Analytics shines compared to GA4's rigid custom dimensions. You can attach arbitrary attributes to your visitors and retrieve them across sessions:
abtz.visitor.set({ plan: 'premium', referral: 'twitter' });
Retrieve them later:
const attrs = abtz.visitor.get();
// { plan: 'premium', referral: 'twitter' }
Useful for segmenting your audience by subscription tier, user role, or any other property that matters to your business.
One gotcha: since the script loads asynchronously, abtz might be undefined when your code runs. Either call your setup in the script's onload event or guard the call:
<script async src="https://analytics.abtz.co/cs.js" onload="onAbtzLoad()"></script>
<script>
  function onAbtzLoad() {
    if (window.abtz) {
      abtz.visitor.set({ plan: 'premium' });
    }
  }
</script>
Step 6: Set up webhooks and automations
Abtz Analytics supports webhooks that fire on every recorded event. Your endpoint receives a POST request with a JSON payload containing visitor details, event data, and metadata.
Configuration is dead simple:
Go to Settings → General → Webhooks
Enable webhooks
Enter your endpoint URL
Done
One important caveat: webhooks are sent only once with no retry. If your endpoint is down, the event is lost. Design your webhook handler accordingly — log incoming requests and respond quickly (200 OK) before processing.
You can use this to pipe analytics data into your own systems, send Slack notifications on key events, or trigger workflows based on visitor behavior.
Step 7: Why your numbers will look different
Before you pull the plug on GA4, you should know this: Abtz Analytics and GA4 will never show identical numbers. They measure differently by design. A 10–20% difference is normal. Here is why:
GA4 uses cookies and models missing data from visitors who decline consent; Abtz Analytics does not use cookies and counts those visitors directly
Ad blockers block GA4 far more often than Abtz Analytics (GA belongs to the adtech ecosystem; Abtz does not)
GA4 includes modeled and estimated data to fill privacy-related gaps; Abtz shows real, unfiltered data
Bot filtering differs — GA4 includes some bot traffic; Abtz includes bots by default but lets you disable them in Settings
In practice, this means Abtz Analytics often shows higher and more accurate numbers than GA4. That is not a bug. It is what happens when you stop excluding visitors who declined cookies.
Step 8: Remove Google Analytics
Once you are comfortable with the Abtz Analytics dashboard and have verified the data looks correct, remove the old GA4 snippet from your site.
Important checklist before removing GA4:
Confirm Abtz Analytics is collecting data correctly
Note the date you switched so you have a reference point
Update your privacy policy to remove references to Google Analytics and cookie-based tracking
If you had a cookie consent banner, you can remove it (Abtz Analytics does not require one)
Step 9: Invite your team
Abtz Analytics supports team collaboration. Invite team members from the Settings → Team page:
Viewers: Read-only access to the dashboard
Admin: Can modify settings but cannot see billing information or invite new members
Invitees need to create an account, if they don't have yet, which doesn't need to be a paid account to access your dashboards.
GA4 to Abtz Analytics: feature reference
Use case | GA4 | Abtz Analytics |
|---|---|---|
Traffic overview | Multiple reports required | One unified dashboard |
Page views | Automatic | Automatic |
Real-time visitors | Separate report | Built into main dashboard |
Event tracking | Google Tag Manager or gtag.js | HTML attributes or JS API |
Visitor properties | Custom dimensions (complex setup) |
|
Scroll depth | 90% threshold only | Full percentage with |
Campaign tracking | UTM + manual configuration | UTM support by default |
Bot filtering | Via config | Toggle in Settings |
Team collaboration | Via Google account | Built-in with Viewer/Admin roles |
Webhooks | Via Google Tag Manager | Native support |
Data ownership | Shared with Google | 100% yours |
Cookie consent | Required | Not needed |
Script size | ~135KB+ (gtag.js) | Under 3KB |
Data retention | Limited (configurable, then deleted) | Unlimited |
Pricing | Free (data used for ads) | $5/month or $42/year flat with a 14-day trial. |
Ready to make the switch?
Migrating from Google Analytics to Abtz Analytics takes about five minutes. Sign up, paste one line of code, and you are done. Your data starts flowing immediately, without cookie banners, compliance headaches, or a cluttered dashboard.
If you have questions about your specific setup or need help with the migration, feel free to reach out on X (Twitter).
Start your free 14-day trial →

About the Author
Rogerio is a seasoned Full-Stack Engineer, Product Owner, and Entrepreneur with a deep background in Information Systems. He bridges the gap between complex technical stacks and a customer-centric, product-first mindset.